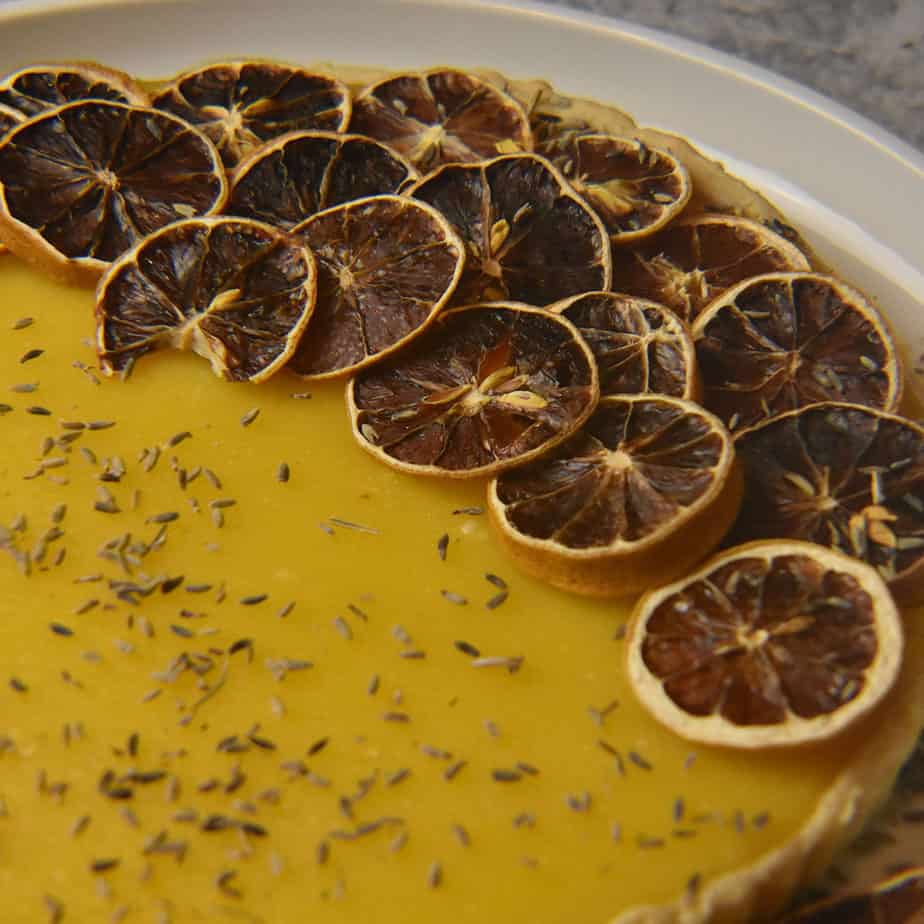
This classic baked lemon tart is one of my childhood favorites and my blog would not be complete without a recipe for it. When lemon season rolls around you can be sure to find this baking in my kitchen. A buttery and crumbly pastry is filled with a creamy, sweet and slightly tart custard in this recipe, the perfect accompaniment to a cup of afternoon tea.
WANT TO SAVE THIS RECIPE?
If you're a fan of lemon flavored desserts like I am, this lemon posset and lemon curd will hit just the spot.
The History
The original "lemon curd" was nothing like the delicious dessert we are familiar with today. Before the 18th century curd was simply the remnants of cream that had something acidic added to it. This result was a separation of whey and 'curds' that were enjoyed as a spread, often with bread.
With the passage of time, as milk, eggs and eventually sugar became abundant, custards became popular. According to delistories.puratos.com the lemon custard was first prepared by English quakers in the 18th Century.
I've discussed this a bit more in my Lemon Swiss Roll recipe, explaining how they enjoyed eating these custards back then. It did not actually become a tart filling till many years later.
This Lemon Curd recipe later migrated to the US with the early settlers and became the famous Lemon Meringue Pie that we know and love.
Lemon Tart Vs. Lemon Pie
The tart and Pie are different both in the texture of the crust and the filling.
The tart has a more cookie like texture vs the pie's flaky and buttery base.
The lemon tart filling is a curd, which has a bold flavor and is made of lemon juice, zest, sugar, eggs and butter.
Lemon pie filling on the other hand is thickened with flour versus eggs and as such is less creamy than the curd.
Whereas I love both, having grown up eating lemon tarts that is where my heart truly lies.
My Story
As I've written many times before, tea time is a very special part of the day in a Pakistani household. There is always something to snack on along with the cup of tea, even if it's a simple plate full of biscuits (as we call cookies back home).
Of course, at least a few times a week, a more lavish spread accompanies the tea. One of my favorites was a box of pastries from the Sind Club bakery (the Sind Club was the equivalent of what would be a country club here in the US). Needless to say I would always go for the lemon tart on that tea trolley!
A miniature tart, with a swirl of bright lemon and a dollop of red jam on top. More on the sweet side, the filling of a very dense texture, it's not a tart you're likely to taste elsewhere. Much as I'd like to I'm not sure I can replicate that exact taste (although that is a project in progress).
At this point in my life I've probably eaten tarts from much finer patisseries, but these tarts from my childhood still hold that number one spot for me.
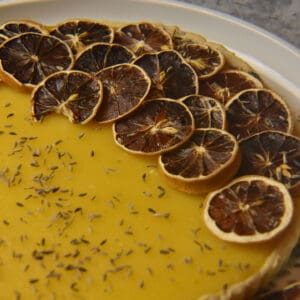
The recipe I'm presenting here today is a more authentic British/French style lemon tart, garnished with dried lemons and dried (culinary) lavender and I promise it will not disappoint!
The Recipe
Although it may seem daunting, the recipe for this tart is fairly simple if you follow the steps and tips below. Remember, practice makes perfect and tarts are amongst some of the trickier baked goods to make so if it's not perfect the first time around don't give up!
I find it's best to pick a time when I know I won't be distracted by anything else when making pastries. I try and prep and measure all my ingredients before I start actually mixing and cooking/baking so I get less frazzled. Then I put on some good music to listen to and just have fun!
As long as your tart tastes good you're halfway there! The technique and presentation will come with practice!
The Tart Crust
Prepare the crust as per my sweet-tart-crust recipe or, if you want to save time and have access to a store bought frozen crust, then by all means go ahead and use that.
Blind bake the crust:
- Preheat your oven to 375 degrees
- Roll out the pastry in your tart tin
- Trim your edges
- Line with parchment
- Add pie weights (you can use beans or chickpeas if you don't have weights)
- Bake in the oven for 15 minutes
- Remove, take the parchment and weights off and let the crust cool completely before filling.
The key to a perfect crust for your lemon tart is a well sealed pastry. Any holes and you will have seepage, resulting in a soggy crust.
Similarly, if the crust is not completely cooled before filling it will get soggy!
Lemon Juice
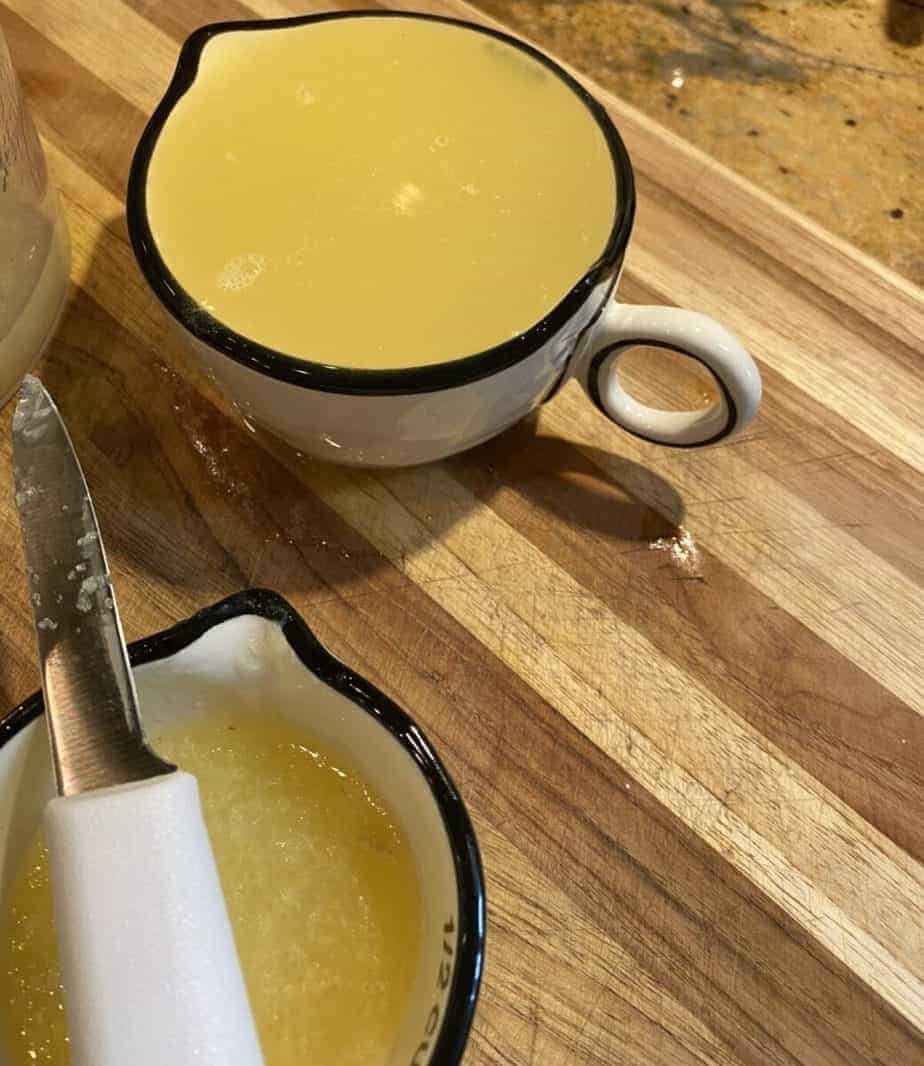
Fresh lemon juice is key to a good lemon tart. Store bought bottled lemon juice isn't an option here! If you like a little less acidity then I would recommend Meyer Lemons. I personally like my tart to be really lemony so use regular lemons but I know some people prefer a milder taste. Personalize your tart by using the lemons you prefer!
Lemon Zest
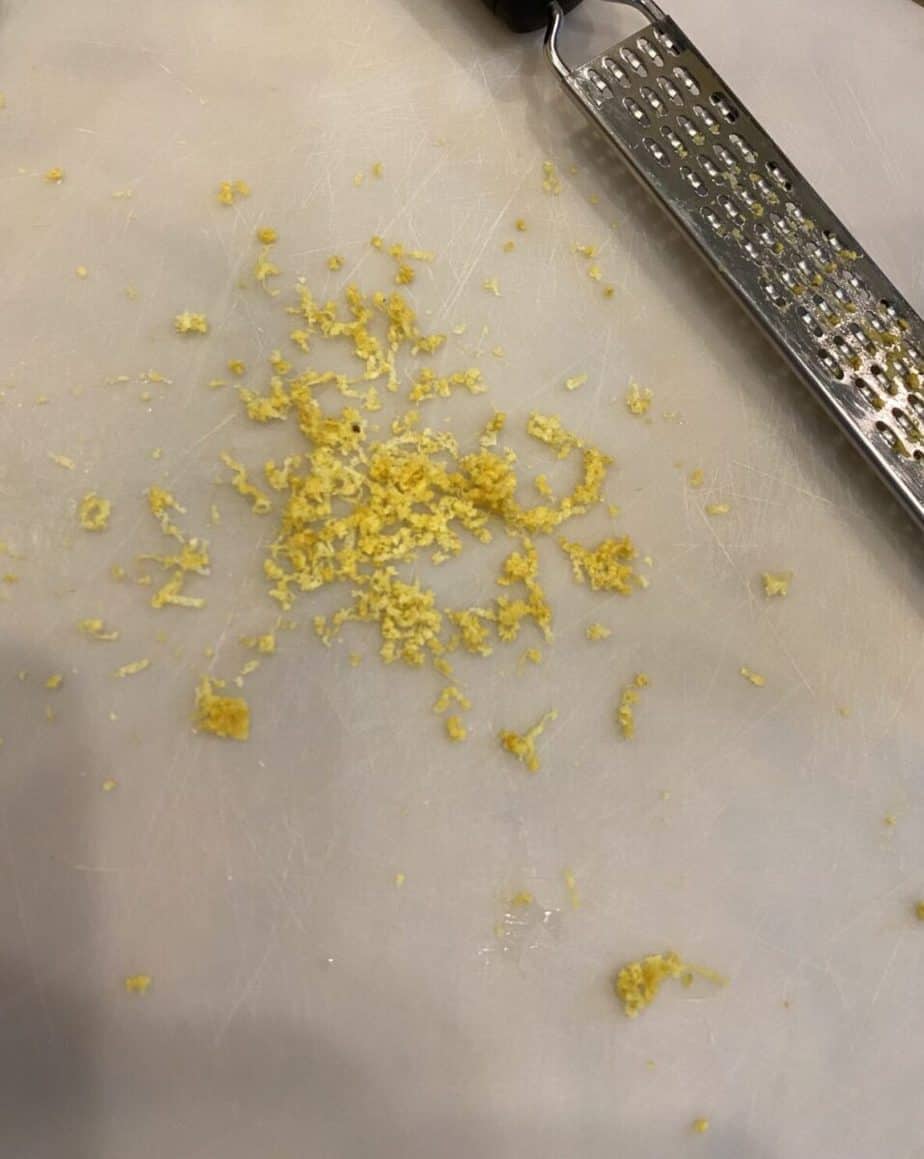
A little lemon zest adds to the lemony flavor of the tart. Once again I like the zest but this can easily be omitted if you prefer your tart to have a milder taste.
Sugar
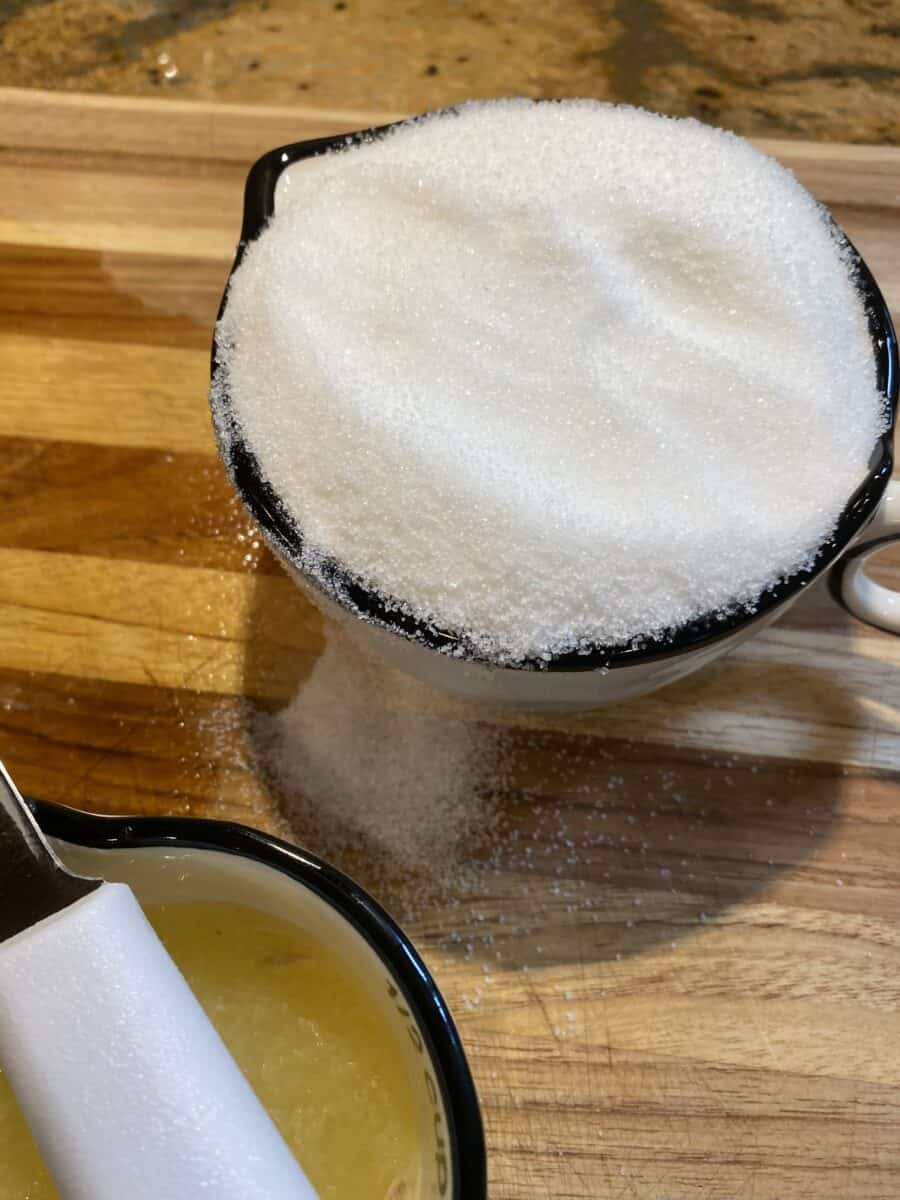
The perfect tart is as sweet as it is sharp. However, if you swap out regular lemons for Meyer lemons and eliminate the zest then you may need to adjust the sugar a little bit. I would probably reduce the sugar by about ¼ cup.
Butter
The butter adds to the creamy texture of the lemon curd and adds to its rich taste. If possible, use French, British or Irish butter. Due to its higher fat content your lemon curd will be creamier and also set better.
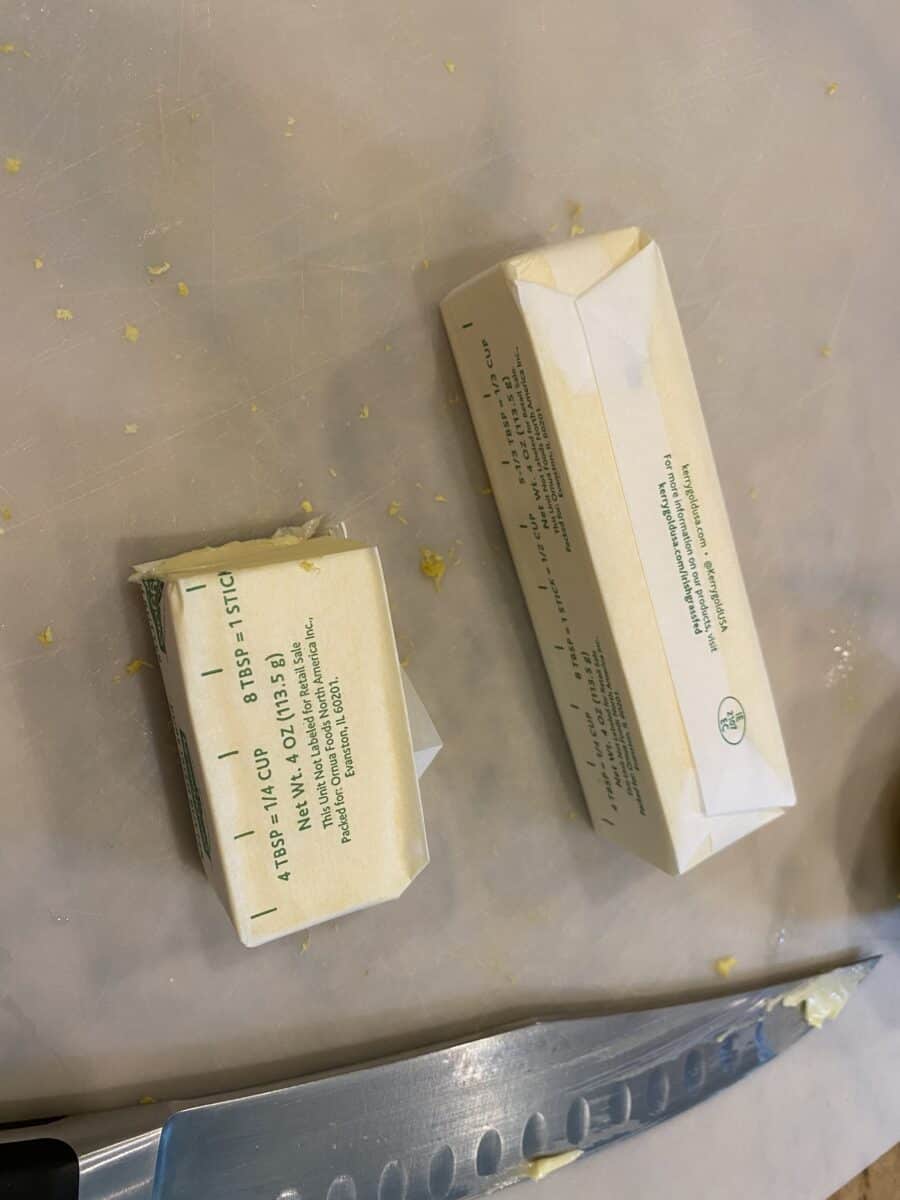
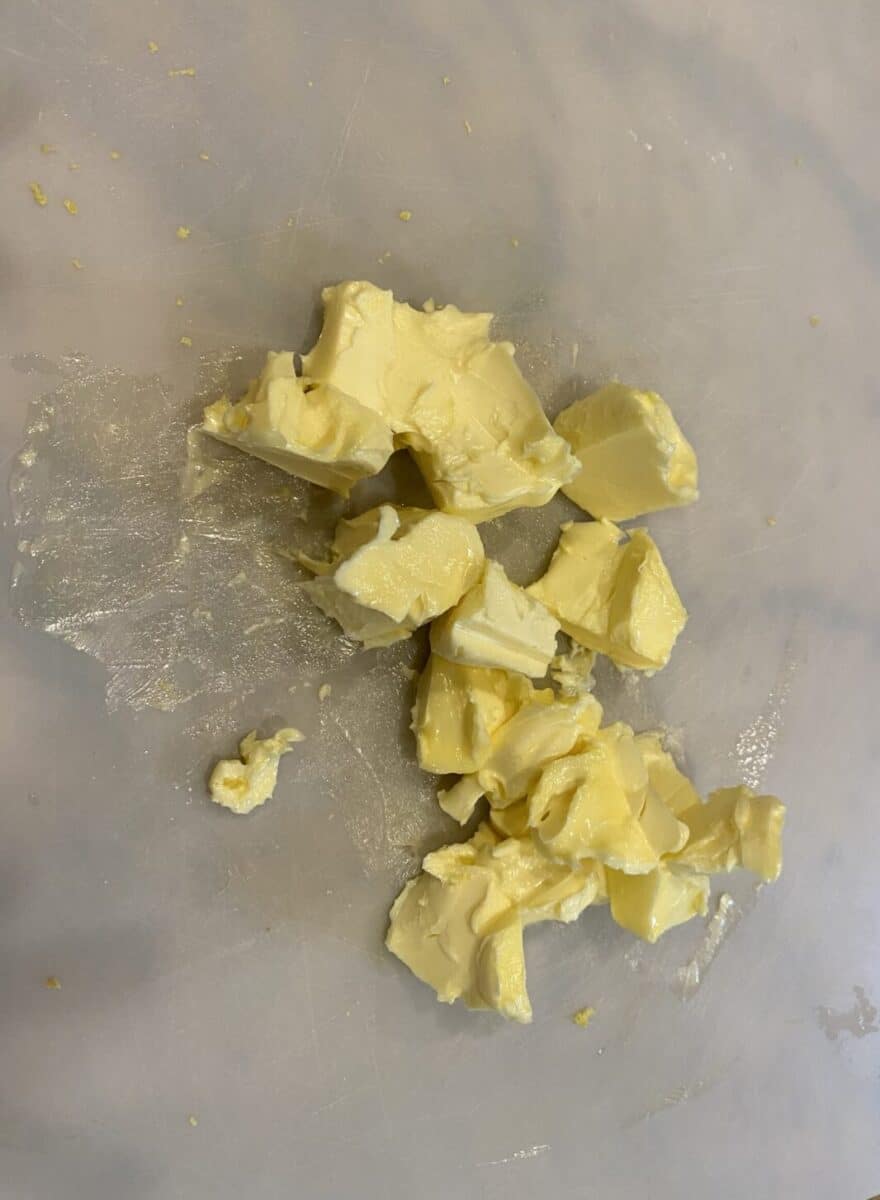
Cutting the butter and having it at room temperature helps it melt more easily. This will make it easier to whisk your ingredients together when cooking the curd.
Eggs
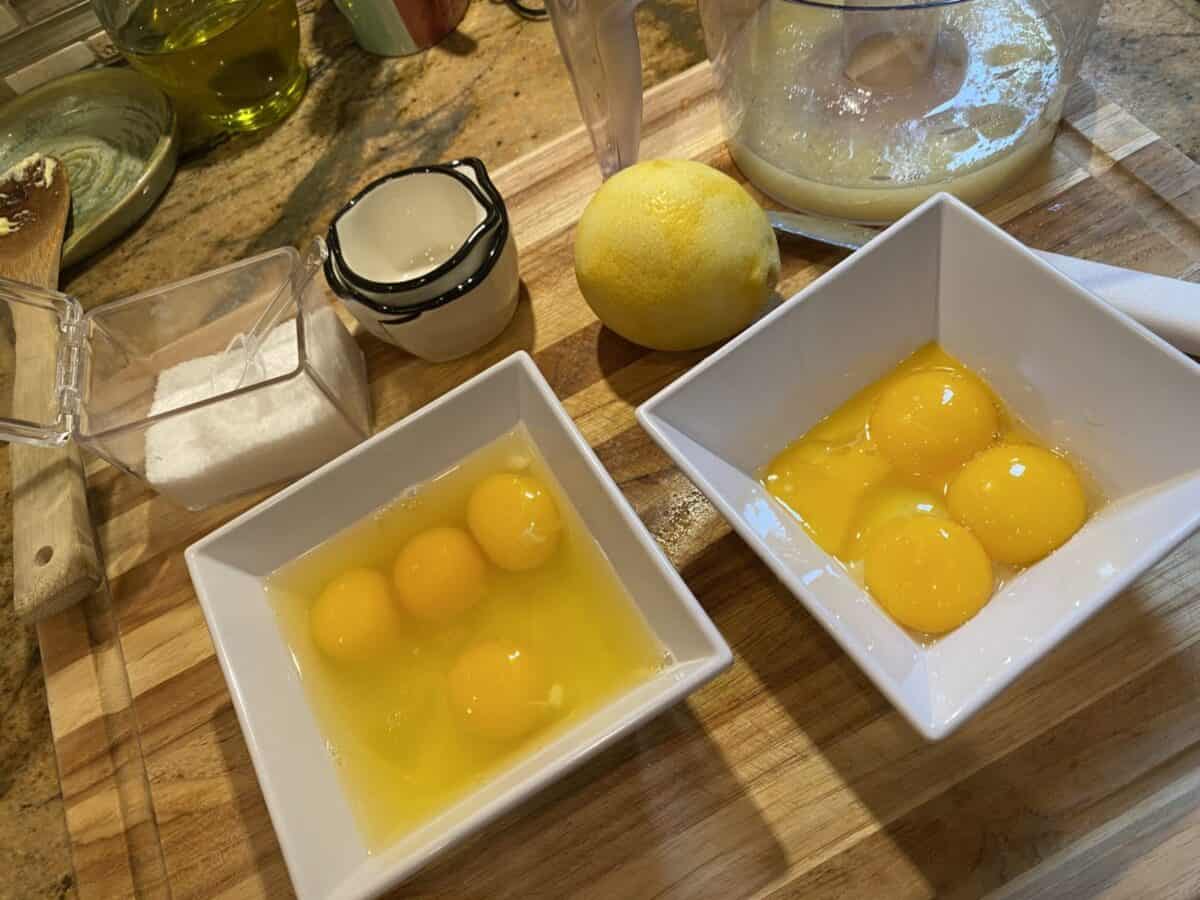
If you've ever made a custard you know it's all about the eggs. Overcook them and your custard will curdle. Control the heat and whisk constantly so you'll have a curd that's as smooth as silk.
As you can see we're using lots of eggs, the purpose is to have a firm and set custard. One that we can slice easily through. The yolks contain the fat that help achieve that while the egg whites in the whole eggs help give the curd it's beautiful glossy look.
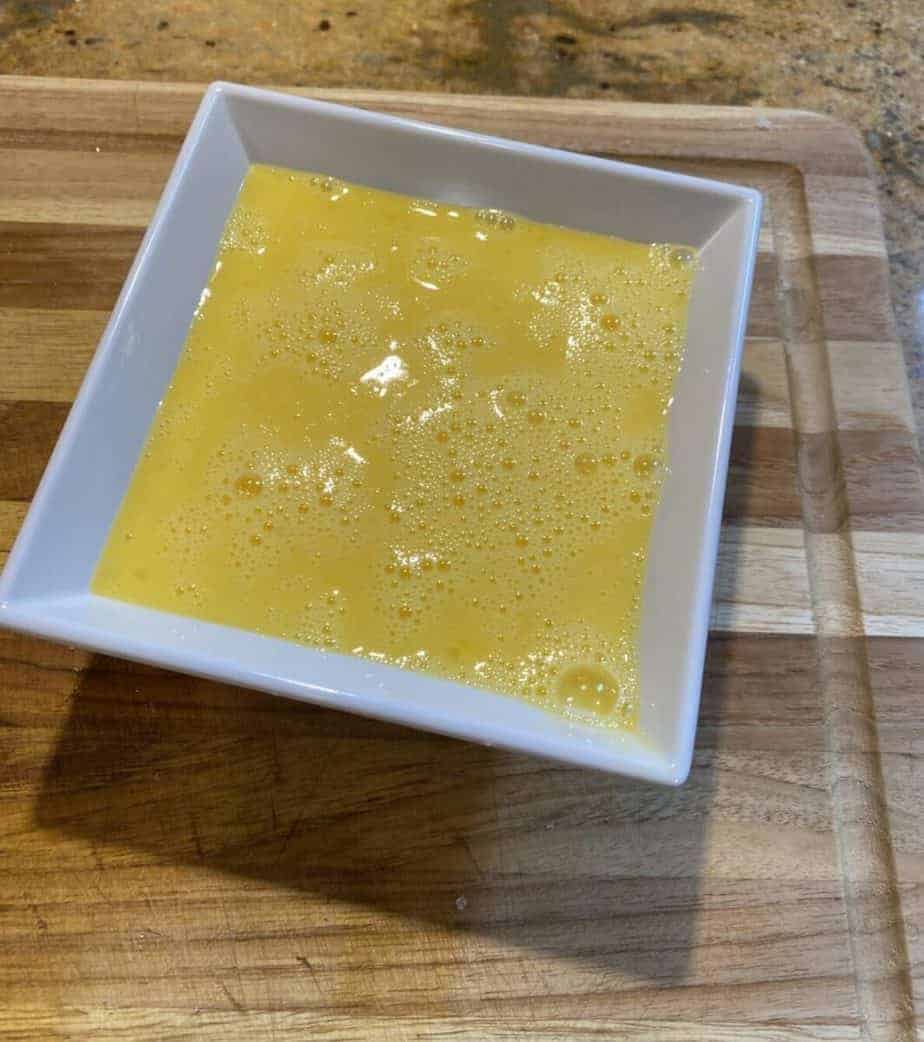
Beat the eggs well together and then add them to the other ingredients.
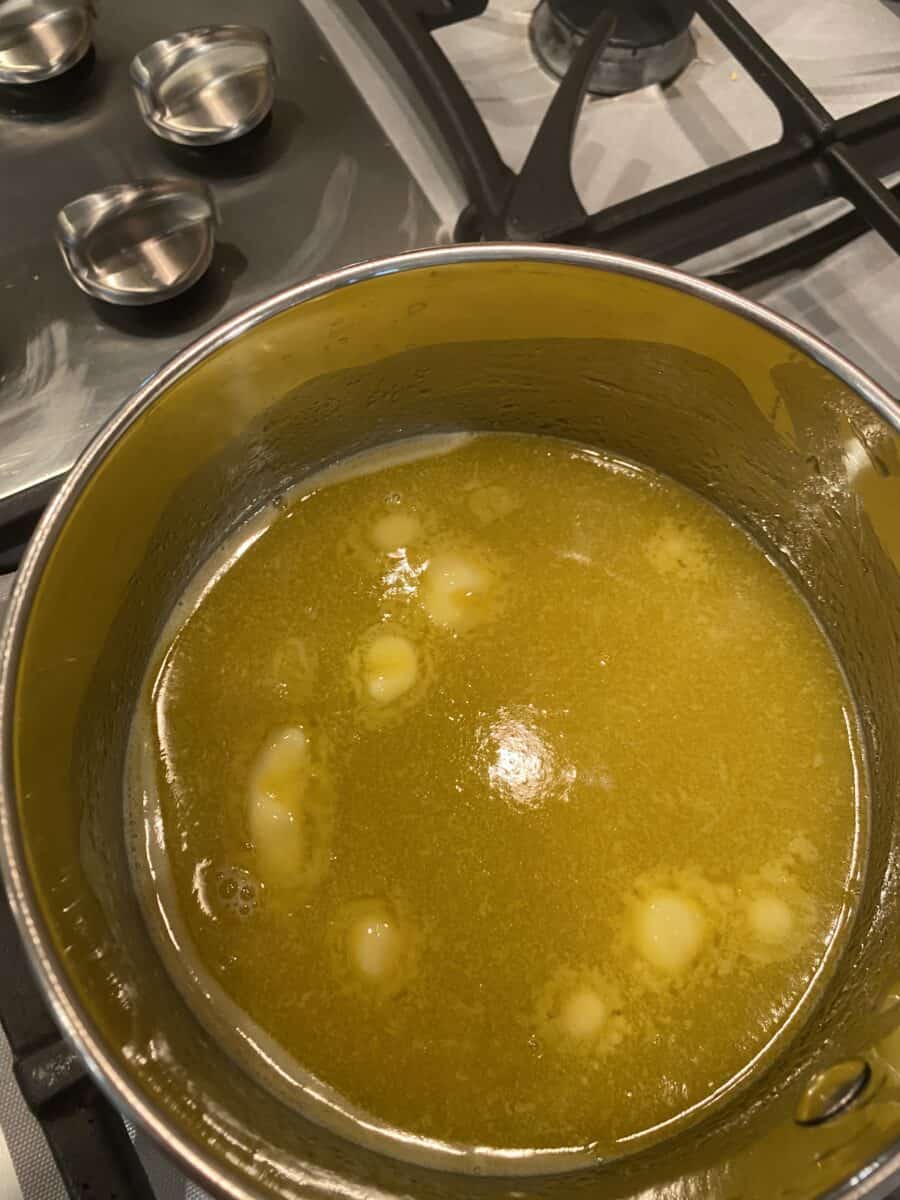
Melt the juice, sugar and butter together and then add the egg mixture, whisking constantly. Add the eggs before the liquid gets hot to prevent the eggs from cooking.
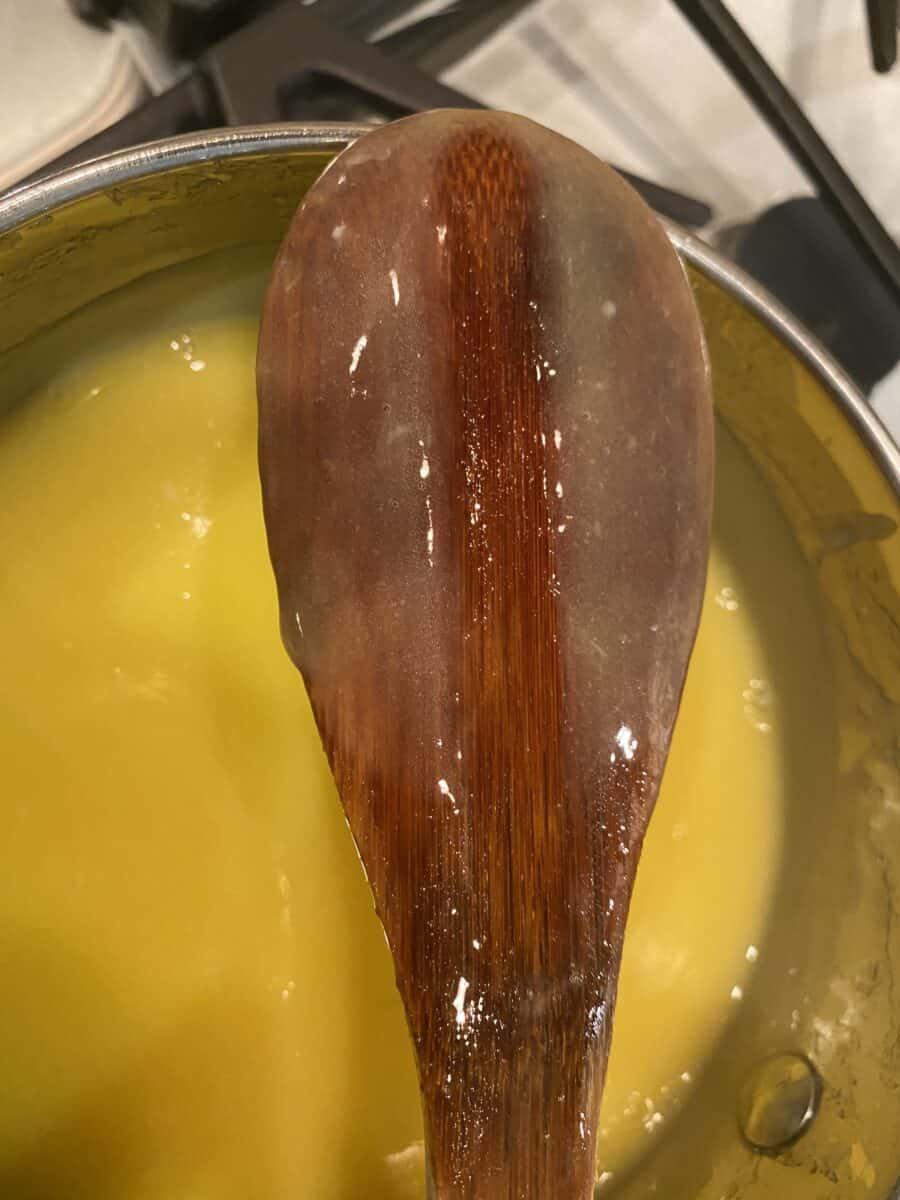
Whisk constantly until you can run a finger along the back of your spoon and leave a clear line in the middle as shown below. At this point remove the curd from the heat, pour into the cooled tart shell and bake at 350 degrees for 20 minutes.
Baking The Curd
Many recipes call for the custard to be poured, chilled and served. However, after some experimentation, I find that this baking, though tedious, insures that the custard will completely set. Once the baking is done and the tart cools the lemon filling is set firmly and can be sliced easily.
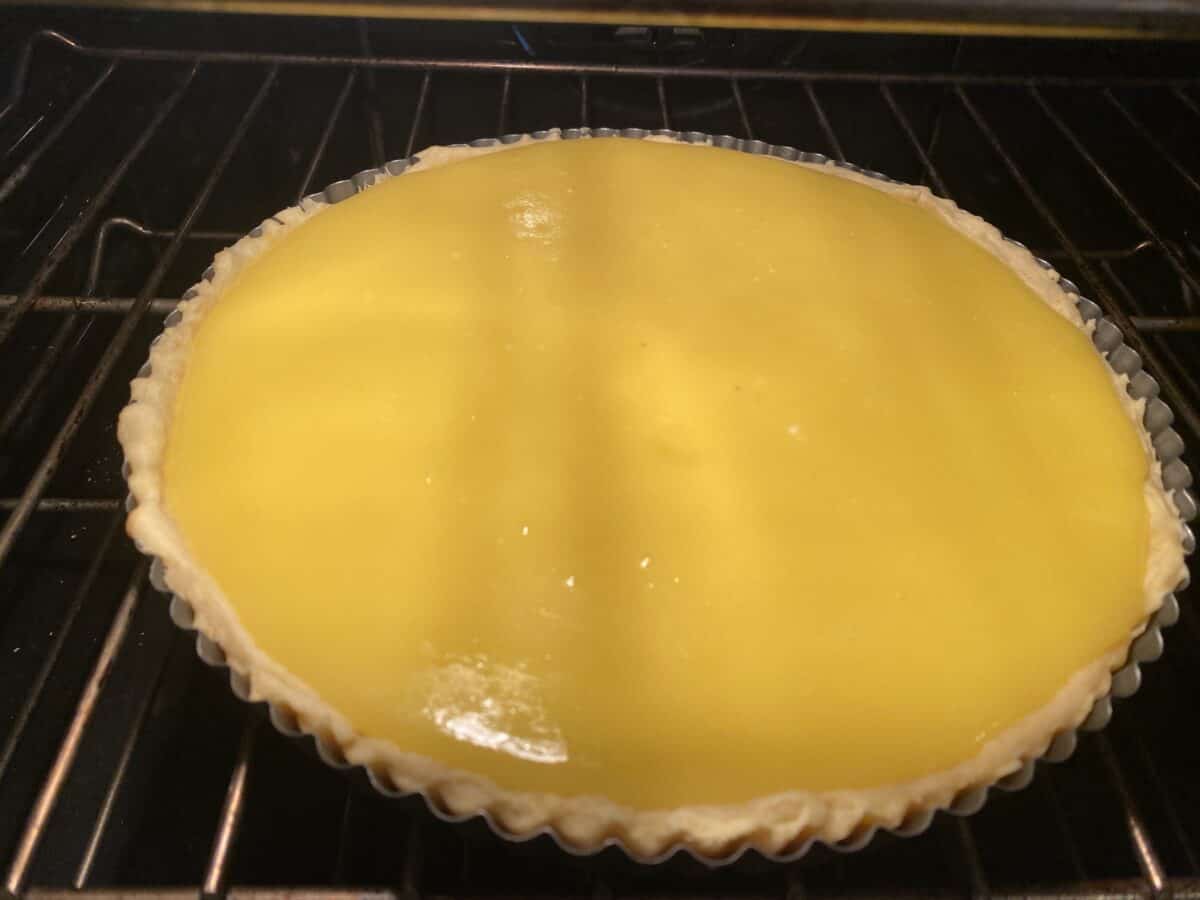
The tart will seem overfull after coming out of the oven, but as it cools the filling will shrink a bit and settle down. However, if you prefer a thinner layer, by all means fill the tart up less.
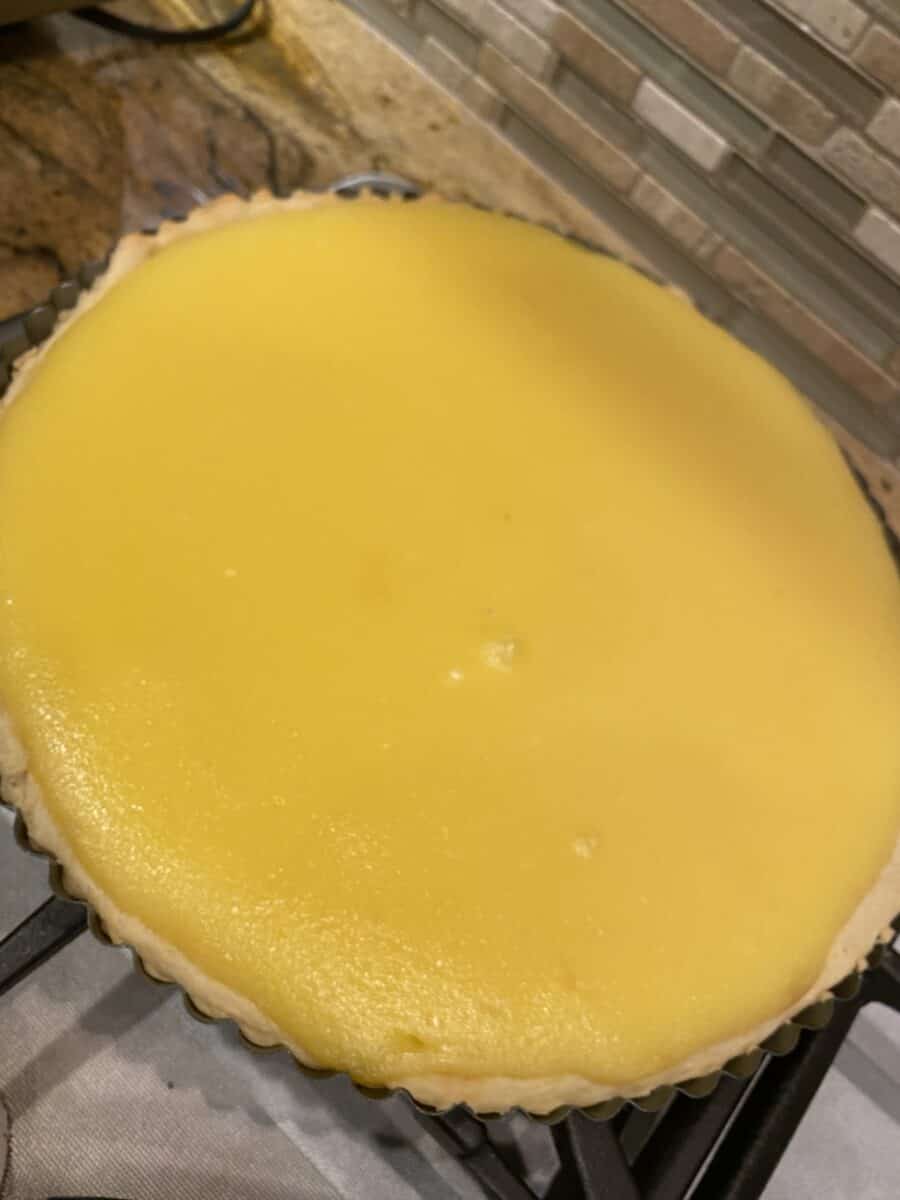
Make sure the tart has completely cooled before removing it from the tin. This will prevent it from cracking! I would also highly recommend chilling the tart for about 30 minutes to an hour in the fridge before serving it. This helps slice it more easily.
The tart is best eaten fresh, but it can be stored in the fridge for a maximum of 2 days. After this, your base will begin to get soggy.
I hope you enjoy this recipe! If you like tarts, try my apple frangipane tart and please don't forget to rate the recipes when you try them!
Classic Baked Lemon Tart
WANT TO SAVE THIS RECIPE?
Ingredients
- 1 cup lemon juice
- 1 lemon zest (OPTIONAL)
- 1 cup sugar
- 12 tablespoon butter
- 4 eggs
- 4 egg yolks
- ⅛ teaspoon salt
Instructions
- Preheat the oven to 350 degrees
- Add all of the above ingredients to a double saucepan (or a regular saucepan on medium low heat) and whisk together, stirring constantly till the butter melts.
- Keep stirring constantly till the mixture thickens enough to coat the spoon but make sure it doesn't curdle (SEE NOTES)
- Pour the custard into a prepared and blind baked tart crust per recipe
- Bake for 20 minutes
- Cool completely before removing from tart tin and serving



DariRenee
Hello! Looks like a tasty recipe as I love all things lemon.
Question: while I've not prepared this recipe yet, I wondered, in your photo of sugar in a glass pyrex measuring cup, why weren't you suggesting to use dry-measuring cup instead [like you would for flour so you could level it off]?
Thank you!
Nosheen Babar
Hi Dari,
That is a dry measuring cup. I found this porcelain set at a homestore and I use it for all my pictures purely for aesthetic reasons. Hope you decide to try the recipe.