

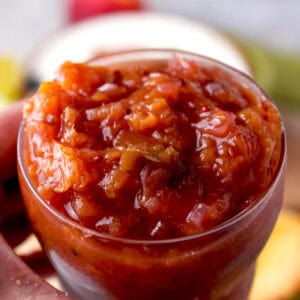
With just three simple ingredients and 30 minutes of active cooking time, you can prepare this Easy Plum Jam Recipe (Without Pectin).

WANT TO SAVE THIS RECIPE?
Pakistan's red plums, known as Aloo Bukhara, grow abundantly in specific regions of the country. With harvests too large to eat fresh, families preserve these plums using various traditional methods.
Dried plums are used in many popular recipes, such as my Kashmiri great-grandmother's gosht-aloo-bukhara (beef curry with plums), chana dal gosht (meat & lentils curry), and the best mutton biryani recipe.
My family's tradition, initiated by my mother, is making homemade plum jam. At first sight of juicy plums in grocery stores, I take out my mother’s classic recipe and make a batch of this delicious Jam.
Jump to:
Why you'll love this plum jam recipe
- Only 3 Ingredients: This plum jam recipe proves that the best preserves don't require complicated ingredients—just quality fruit, sugar, and a splash of lemon juice.
- Just 30 minutes of active cooking time: This recipe requires minimal preparation and cooking time, making it perfect for busy schedules and last-minute gifts.
- No preservatives: The natural pectin in plums and lemon juice means no artificial pectin is necessary for this recipe.
- Versatile recipe: There are countless possibilities when it comes to enjoying this plum jam. Two of my favorites are as part of a Charcuterie Board or in my Ricotta Breakfast Parfait. For more ideas, check out the serving suggestions section below.
- Vegan, Gluten-Free, and Dairy-Free: This recipe accommodates all dietary restrictions, making it perfect for serving guests or gifting jars to your family, friends, and neighbors.
Ingredient notes

- Plums: During the summer, supermarkets are filled with a variety of plums, such as red, yellow, and black. I usually use black plums for this recipe, but any type will create a delicious jam. Select ripe but firm plums for optimal flavor and texture. Look for fruit that yields slightly to gentle pressure but isn't overly soft.
- Sugar: The sugar not only sweetens the jam but also helps it gel properly and acts as a natural preservative. Adding the right amount of sugar is key to the taste and consistency of this recipe. I like my jam a little tangy, so I only add 1 cup of regular granulated sugar to 2 lbs of plums. Most recipes call for 1 cup of sugar per pound of plums. Although I find that too sweet, you can try this ratio if you prefer.
- Lemon Juice: Lemon juice contains a significant amount of pectin, allowing desserts like lemon posset to be made with zero gelatin yet set beautifully. Although plums also contain pectin, a small amount of fresh lemon juice helps activate the pectin in plums for proper gelling.
Please refer to the recipe card at the bottom of this post for the complete list of ingredients, measurements, and detailed recipe instructions.
Substitutions & variations
- Make the jam smoother: I prefer my jam slightly chunky, so I use a handheld masher to break down the plums. For a smooth consistency, use an immersion blender and puree thoroughly.
- Infuse the jam with extra flavor: Add a quarter teaspoon of cinnamon, ginger, or cardamom to this plum jam recipe for added aroma and flavor.
- Try the recipe with frozen plums: Frozen plums work wonderfully and may even break down faster during cooking. There's no need to thaw them first; add a few extra minutes to the cooking time if necessary.
- Use another stone fruit: Try this jam recipe with peaches, apricots, nectarines, or even cherries.
- Make sugar-free plum jam: For a sugar-free version of this recipe, substitute 1 cup of sugar with 1 cup of lantanko monk fruit sweetener. While ¾ cup of honey or maple syrup is also a good alternative, the texture of the jam will be slightly different.
Sterilizing the jars
Before cooking your jam, use one of the following four methods to sterilize your jars.
- The Boiling Method: Wash the half-pint jars in hot, soapy water and boil them with the lids for 10 minutes. Turn the stove off and leave the jars as your jam cooks in the water. Remove the hot jars and fill them using a metal spoon once your jam is ready.
- The Oven Method: Wash the jars as with the other method, and then place the wet jars on a baking sheet in the oven. Bake at 275°F for 10 minutes. Remove using oven mittens, and place on a cooling rack. Make sure to fill the jars while they are still warm.
- The Dishwasher: This is an easy way to sterilize jars if your dishwasher has a high heat setting. Run a short wash cycle at the highest temperature setting and keep the dishwasher closed to keep the jars warm till it’s time to fill them.
- Microwave: A less common and efficient method of sterilization is the microwave. Wash your jars and microwave them for 30 seconds to 1 minute. Ensure the jars are metal-free and boil the lids separately.
Ensure that you leave ½ inch of space when filling the jars and seal them with the metal lids.
Step-by-step instructions

Step 1: Start with perfectly ripe plums, washing them, cutting them in half, and discarding the pits.

Step 2: Add plums, water, sugar, and lemon juice to a large pot. Bring the mixture to a full rolling boil on high heat.

Step 3: Cook over medium heat for 15-30 minutes, or until the plums have softened and changed color.

Step 4: Stir occasionally to help mash the plums. If necessary, use a potato masher to blend the pieces. Test the jam using one of the methods listed below before pouring it into your sterilized jars.
Testing the jam
- Finger Down the Spoon Test: I use this age-old technique! Once the jam is thick enough to coat my spoon, I run a finger down the middle to create a line. If it doesn’t refill with liquid, I consider the jam ready.
- Cold Plate Test: Many people enjoy using the cold plate test. For this, when you start cooking your jam, put a plate in your fridge to chill. Once you think your jam is thick enough, remove the plate and place a teaspoon of the jam on it. The jam will instantly cool and thicken to its actual consistency once cold. This will help you determine if it’s as thick as you want.
- Candy Thermometer: The 3rd and foolproof method is to use a candy thermometer. A regular thermometer, such as this one from thermoworks.com, will also work since it goes up to 220 degrees Fahrenheit.
Expert Tips
- Always bottle the jam while the jars are warm: Ensure your jars are slightly warm when you pour in the jam. If the jars are cold, they may crack due to the high temperatures of the hot jam.
- For best results, check the latest canning guidelines: These always contain the most up-to-date methods and techniques for sterilizing your jars.
- Use a candy thermometer: This will help you determine when your jam is at the perfect setting temperature of 220 degrees Fahrenheit.
- Prevent contamination: Use one spoon to scoop out the jam and a separate spreader for your toast to prevent the jam from spoiling.
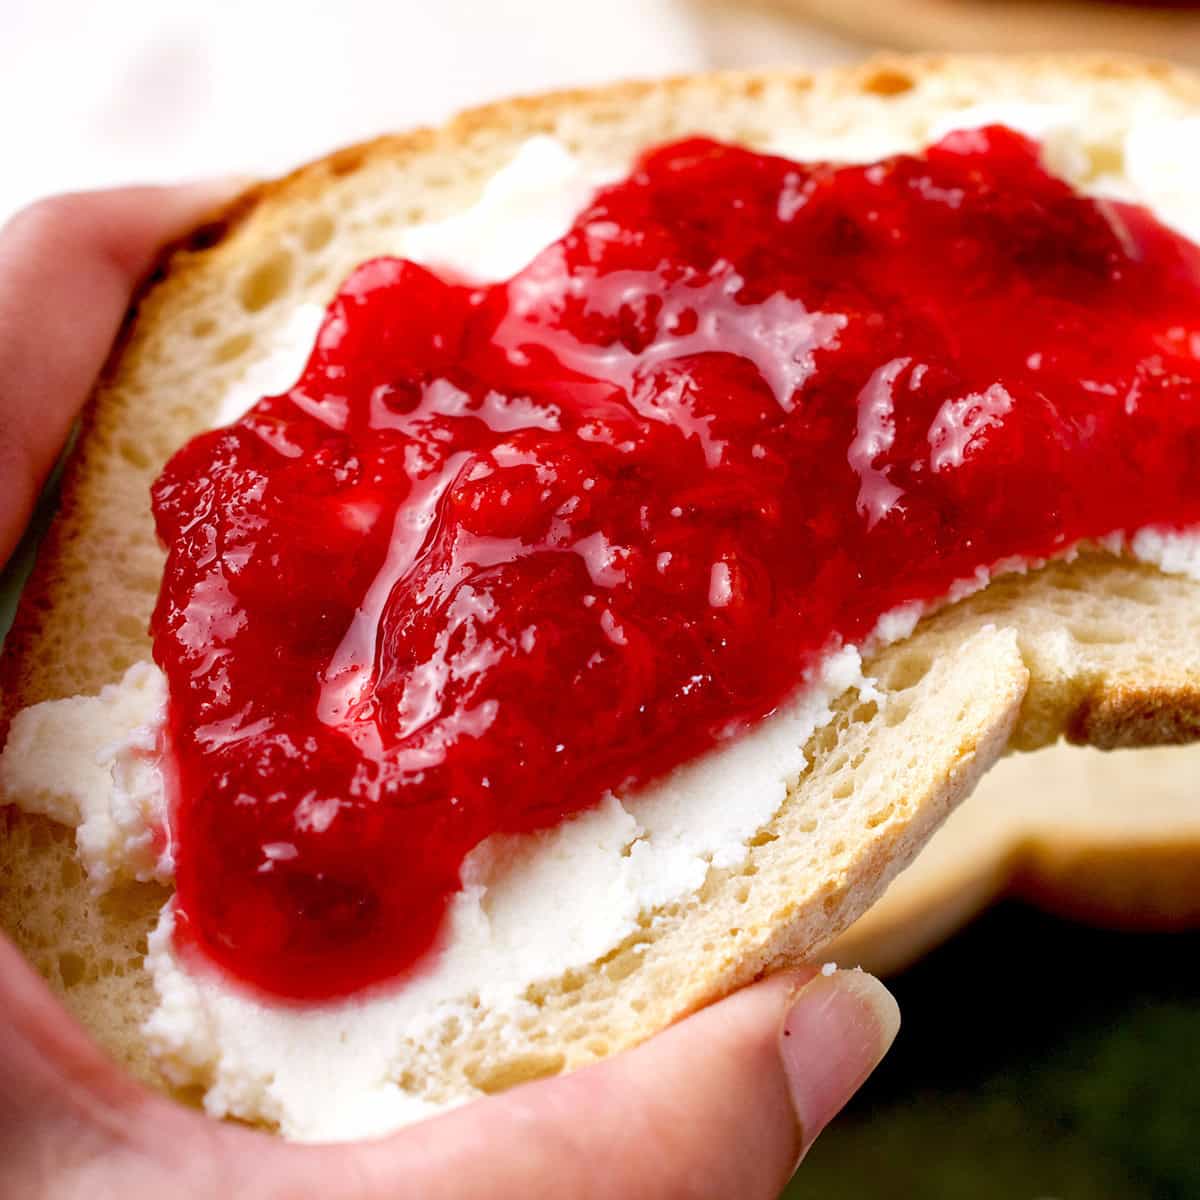
Serving suggestions for this plum jam recipe
- Toast
- Oatmeal
- Pancakes
- Crepes
- Cottage cheese
- Plain yogurt
- French toast
- Glaze for roasted meats
- Ice cream
- Tart, cake, or cookie filling.
Recipe FAQS
With proper canning in a water bath canner, the jam can be stored in a dry place, such as your pantry, for up to a year if left unopened.
Once opened, the jam will last in the fridge for 4-6 weeks at most, as it contains no preservatives.
Homemade jam without preservatives will last in the freezer for up to six months in an airtight container, even without proper canning.
If the fruit is well pureed without any chunks, it's a jam. If there are large pieces of fruit set in a thick syrup, then it's a preserve. If strained fruit juice and sugar are combined to make a transparent and thick gel, then it's jelly.

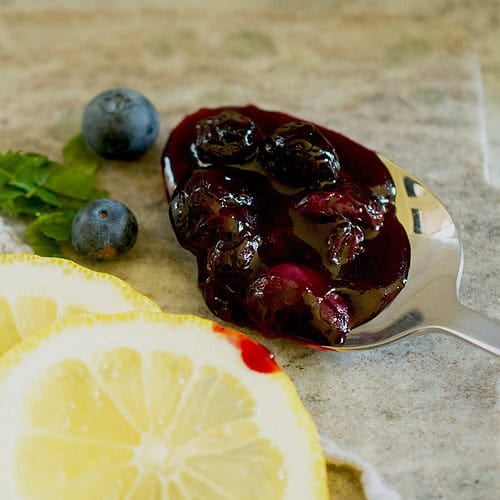
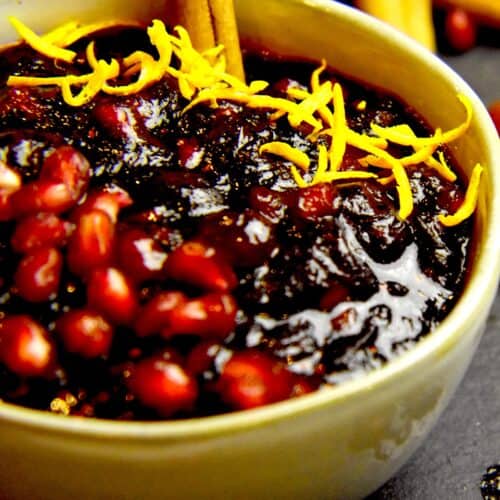
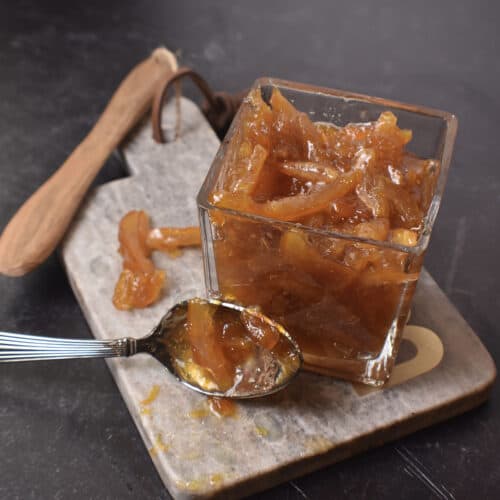
Other recipes you may like

Did you try this recipe? Leave a ⭐️⭐️⭐️⭐️⭐️ rating below and share it on Instagram, Facebook, and Pinterest!
Easy Plum Jam Recipe (Without Pectin)
WANT TO SAVE THIS RECIPE?
Ingredients
- 2 lb plums
- 1 cup granulated sugar (see notes)
- 2 tablespoon lemon juice (see notes)
- 1 cup water
Instructions
- Halve the plums, discard all the pits and leave the skin on.
- Measure the sugar, lemon, and water and mix with the plums in a large pot.
- Bring the mixture to a rolling boil.
- Reduce the heat to medium, cover, and cook for 20 minutes.
- Uncover and cook on high to thicken.
- Stir every few minutes to prevent the mixture from sticking to the bottom of the pan.
- You can use a potato masher, if needed, to mash the plums. (see notes)
- After 10 minutes, you can test the jam to see if it's done. (see notes)
- Once ready, spoon the hot jam into the prepared, sterilized jars to cool down.
Notes
- Use a candy thermometer and cook till the temperature reaches 200℉. This will ensure that your jam will set.
- Put a small clean plate in the fridge and let it chill. Once the jam is ready, place a small amount on the cold plate. It will cool immediately, allowing you to determine if it's appropriately set or if you need to cook it for a longer period.


Leave a Reply