
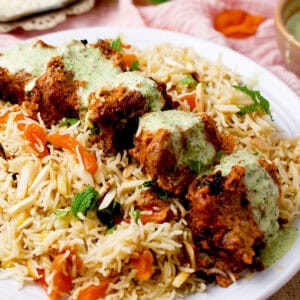
The Perfect Basmati Rice recipe is a must-have if you love South Asian Cuisine! This rice, well known for its fragrance and long grain, is a delicious accompaniment to any curry. Once you learn my easy method for cooking rice on the stovetop, you'll never return to making it any other way.
WANT TO SAVE THIS RECIPE?
Basmati rice has a reputation for being difficult to cook correctly. But I promise that with my step-by-step instructions and tips, this will become one of those easy recipes you'll cook again and again.
This dish is incredibly near and dear to my heart. A staple in my house growing up, my maternal grandmother taught me how to cook perfect Basmati rice when I was 15 years old. In my 27 years of cooking, I've never cooked it any other way.
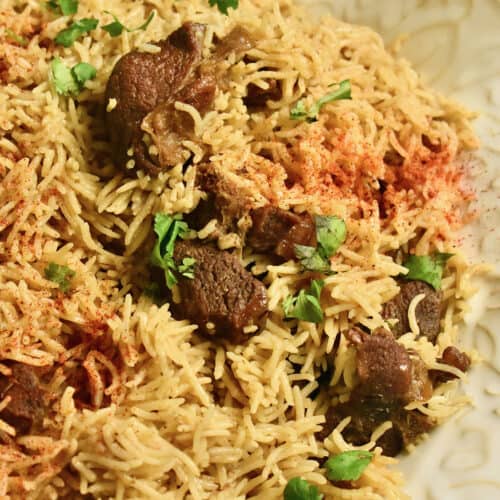
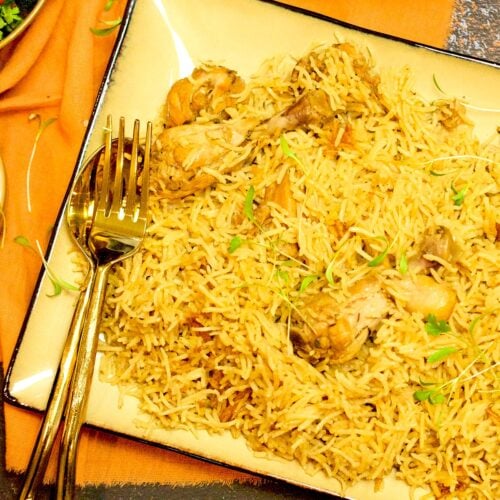
A few of my favorite pairings with basmati rice are a bowl of my Hyderabadi Dal, kadhi recipe (with pakoras), chicken curry, chicken shawarma bowl, and aloo keema (ground beef and potato curry). I also cook and use basmati rice in my Korean Beef Bowls.
Jump to:
Why you'll love this perfect basmati rice recipe
- Delicious taste and aroma - Basmati rice is known for its nutty flavor, floral scent, and light, fluffy texture. When cooked properly, the taste and texture are unmatched.
- No special equipment is needed - All you need for this recipe is a cooking pot and three essential ingredients in most households.
- Gluten-free - This is a great gluten-free option and the best way to enjoy curries on a restricted diet.
- Versatile recipe - Rice pairs with traditional South Asian soups like tomato rasam, lentil curries like easy moong masoor dal, vegetarian curries like aloo palak, and meat dishes like aloo gosht.
Ingredients to make perfect basmati rice
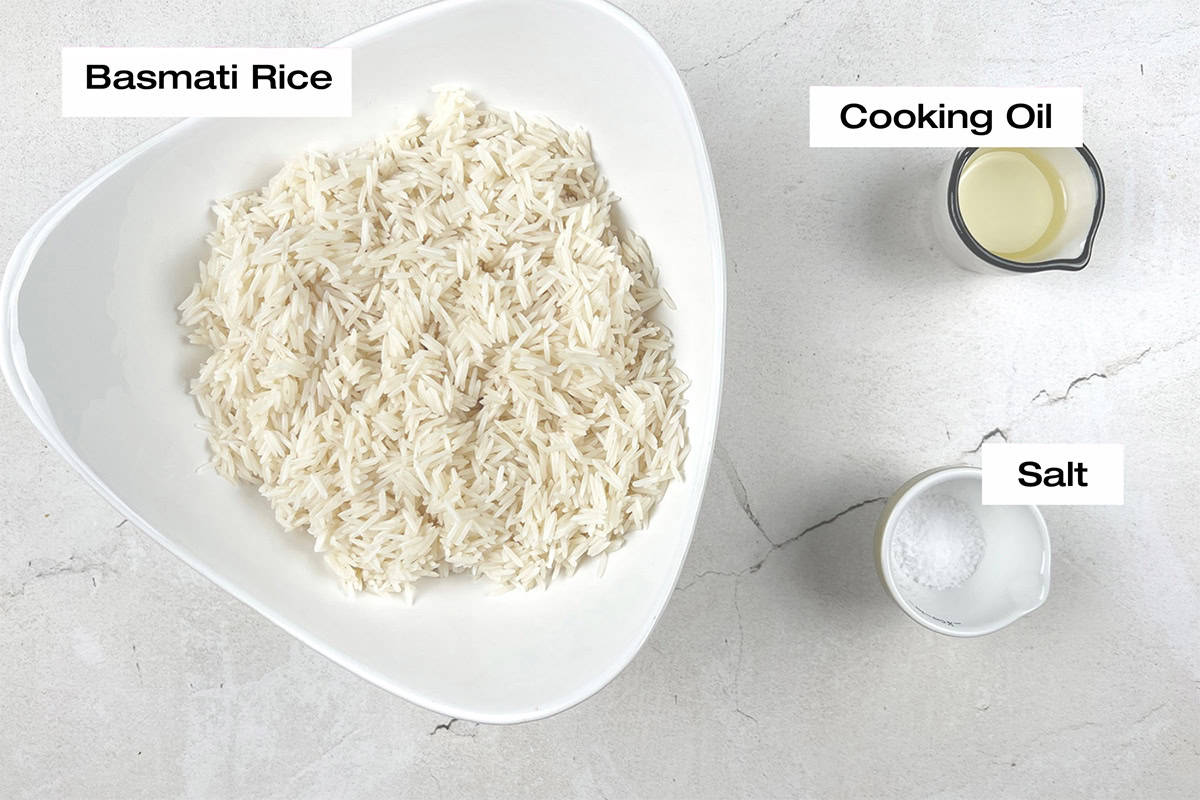
- Basmati rice - I like to use long-grain white Basmati rice in my cooking; my two go-to brands are Royal and Zebra.
- Oil - Since the oil is added at the end, it doesn't need a high smoke point. I like to use organic, high-quality olive oil for finishing.
- Salt - I usually opt for coarse kosher salt, but any salt you have on hand will do.
- Water - The rice-to-water ratio is vital to fluffy basmati. Always use 1.5 cups of water per 1 cup of rice.
Please see the recipe card at the bottom of this post for the complete list of ingredients, measurements, and recipe instructions.
Substitutions & variations
- Oil - If you don’t have olive oil, you can substitute any other neutral cooking oil, such as grapeseed or canola.
- Ghee or butter - Depending on your preferences, Use two tablespoons of butter or ghee instead of the cooking oil.
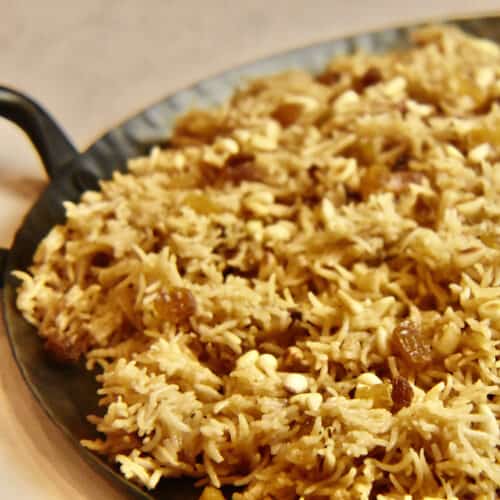
- Brown Basmati rice - You can easily swap white Basmati rice for brown Basmati rice.
- Add some aromatics—If you want the rice to be more aromatic, add a bay leaf as it boils, give it a tadka of cumin seeds at the end, or add a pinch of saffron just before steaming it.
How to make perfect basmati rice
Before cooking, rinse the rice with cold water; repeat this step 3-4 times until the water runs clear. Soak the rinsed rice in about 6 cups of water for at least 15 minutes, preferably 30 minutes.

Step 1 - After 15 minutes, strain the rice to remove excess water. Fill a 5-quart pot with rice, water, and salt.
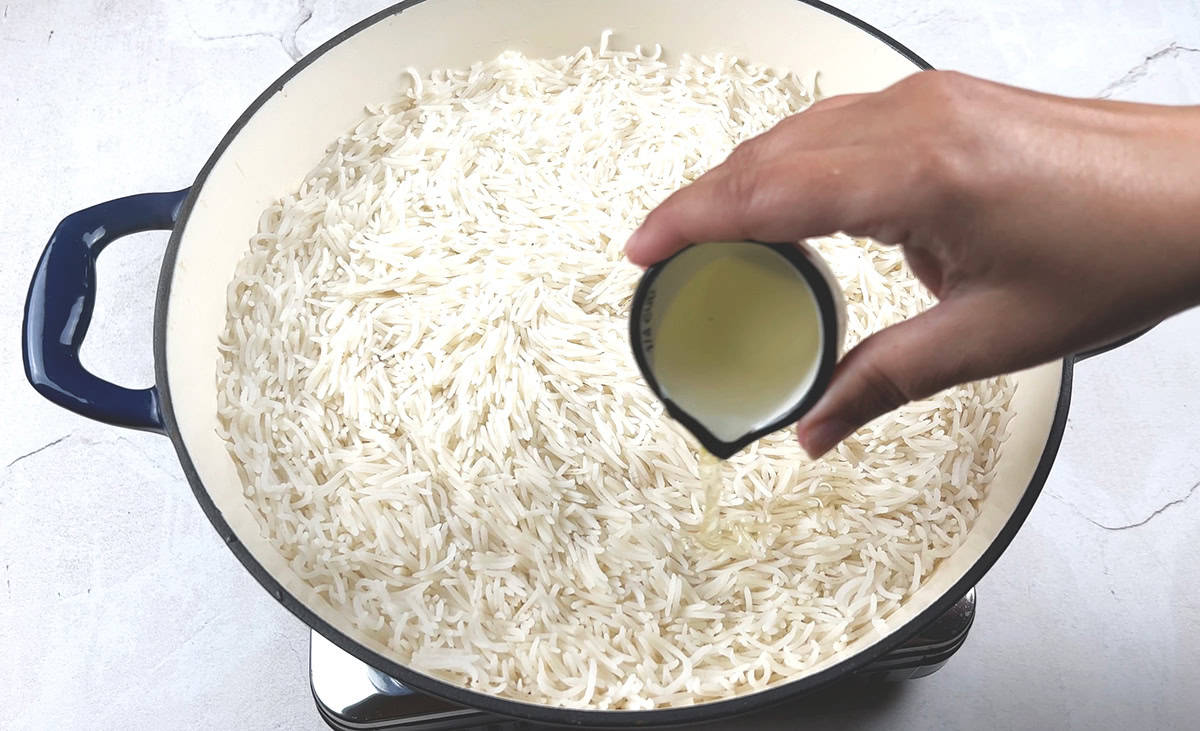
Step 2 - Cook on high, stirring only once to separate the grains. Cook until about ¼ cups of water remains at the bottom.
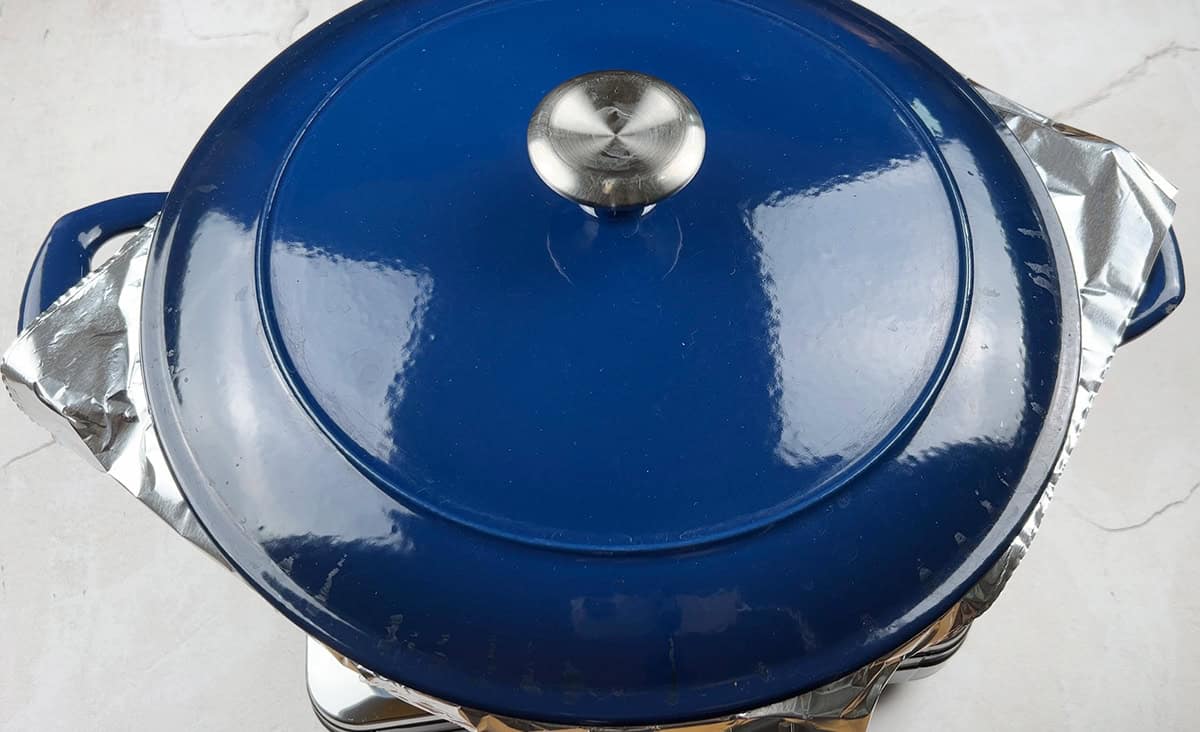
Step 3 - Reduce the flame to the lowest setting. Cover the rice with foil and then the lid of the pot, sealing it tightly to trap all steam. Leave it untouched for 15 minutes.
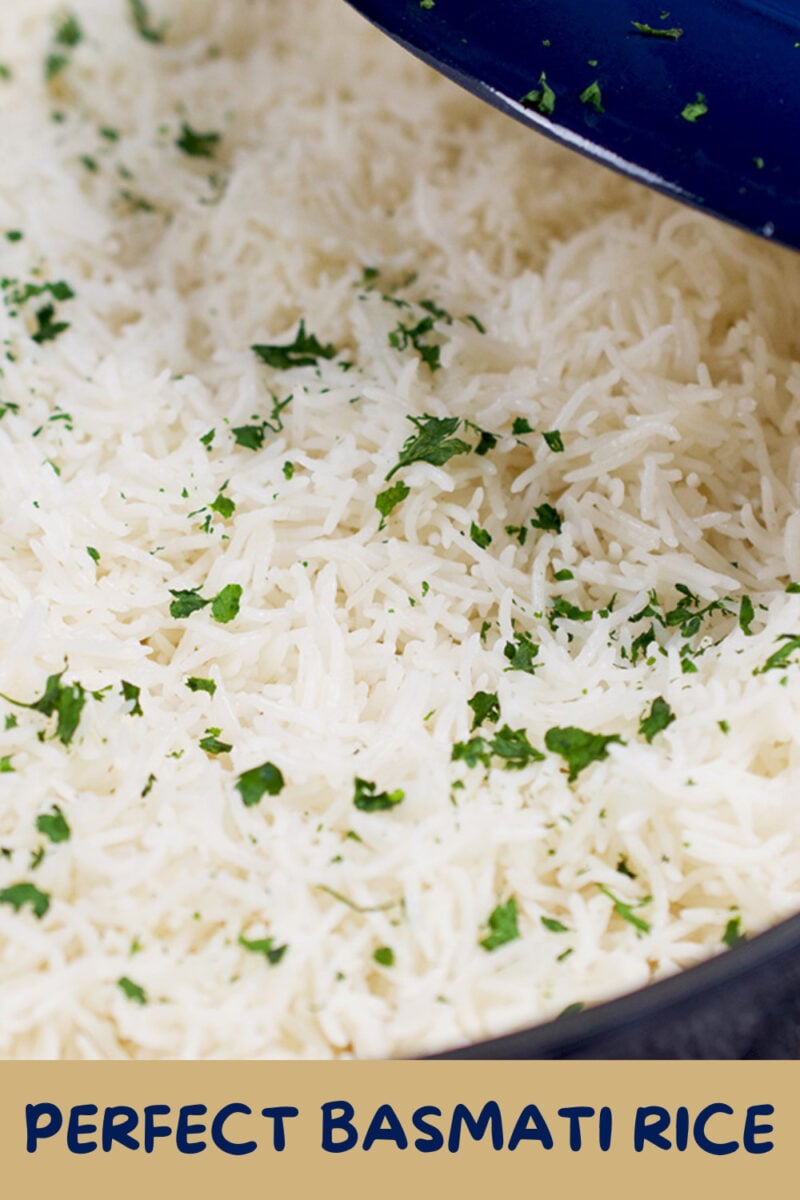
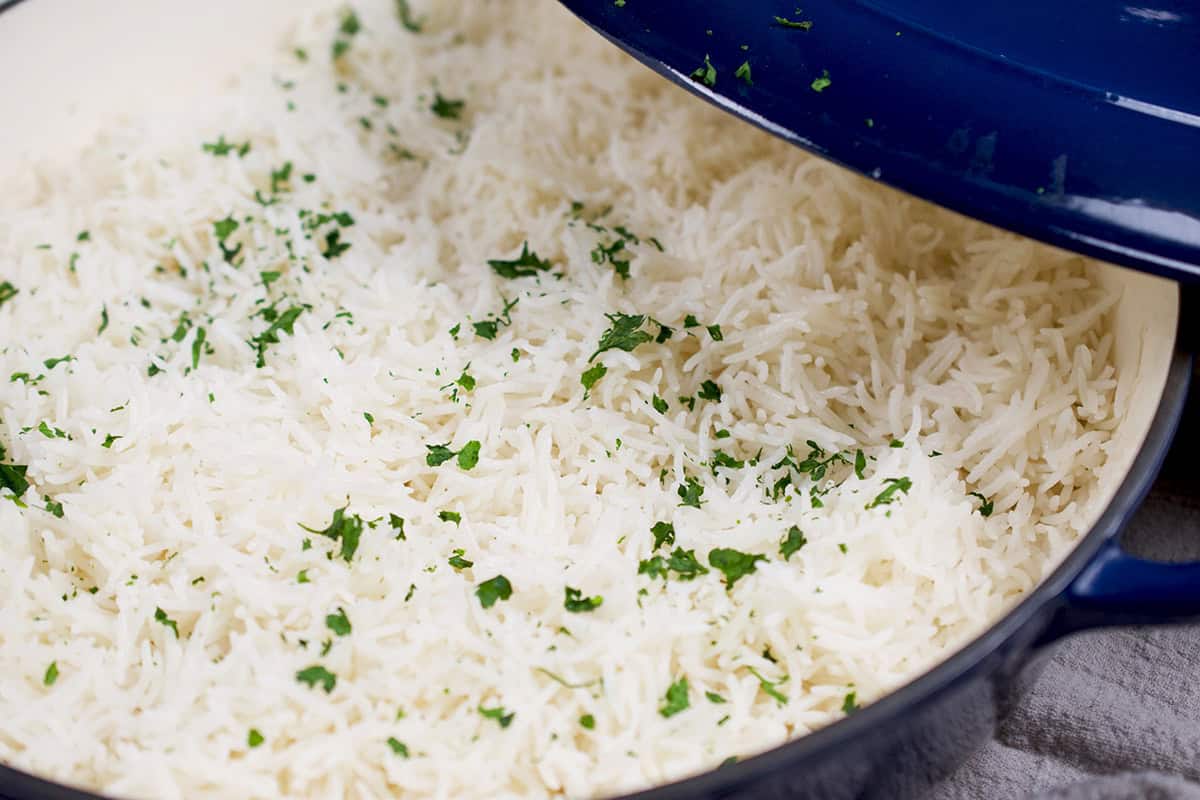
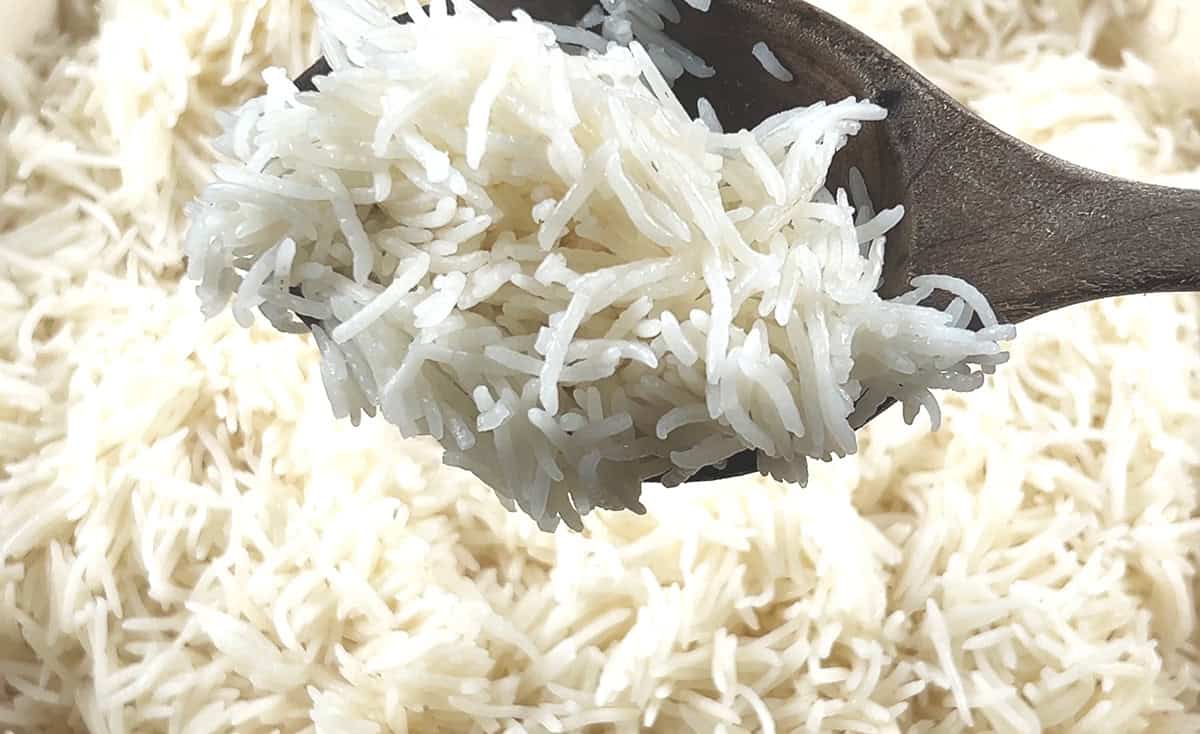
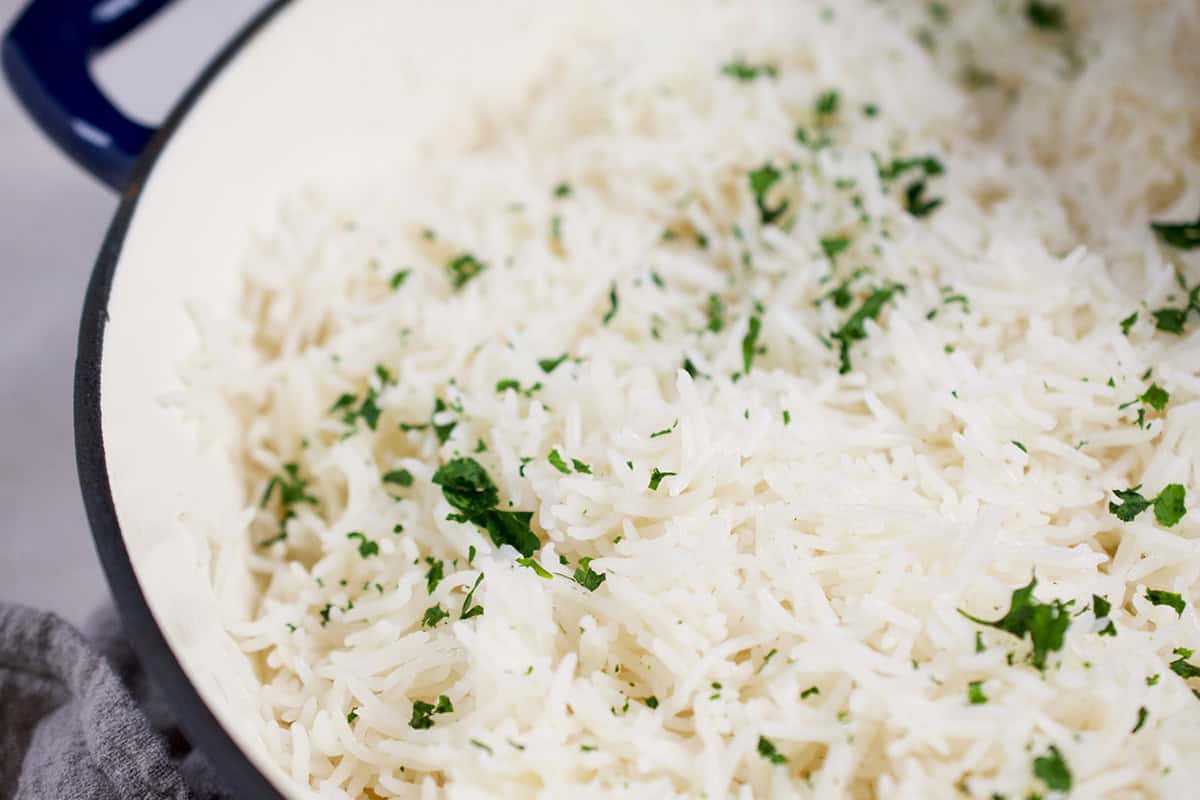
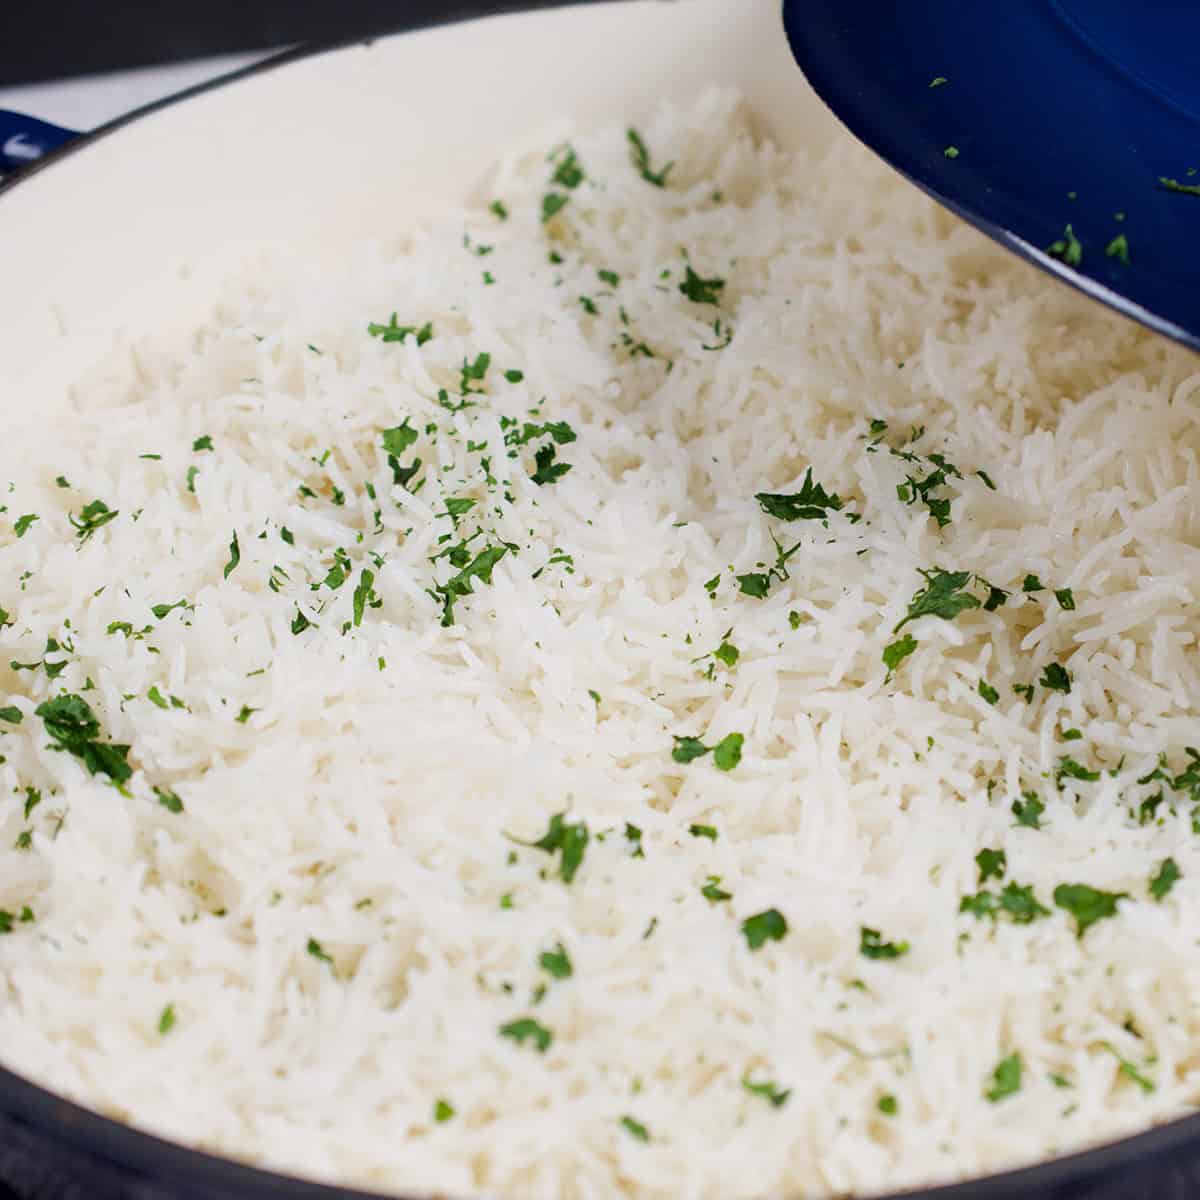
Step 4 - Gently remove the foil, drizzle the olive oil on top, and fluff the rice with a fork.
Step 5 - Plate the rice immediately to prevent it from clumping in the cooking pot. This will ensure that the grains stay separate.
Expert Tips
- Use the right pot - A shallow, wide pot works best for even cooking. It should also have a heavy base to prevent the rice from sticking during steaming.
- Control the cooking temperature - Cook the rice on high heat until the water evaporates. During steaming, the stove must be very low to prevent the rice from sticking to the base. If you have an electric stove or a gas burner that's too high, even at its lowest, place a flat griddle between the flame and cooking pot for best results.
- Rinse the Rice—I know that rinsing your rice may seem like an unnecessary step that only adds more time and dirty dishes, but trust me—it’s essential. Packaged rice always has excess starch on its surface, which can cause it to become gummy and clump together during cooking.
- Soak Your Rice - Like rinsing, soaking the Basmati rice is a step you don’t want to skip. A good soak in water for 15-30 minutes produces a soft, fluffy texture.
- Add some fat - I like to drizzle fresh olive oil at the end for added flavor and to help keep each grain of rice separate. Butter and ghee are also good options.
- Fluff your Basmati rice - As the Basmati rice rests, the excess starch becomes sticky, creating large clumps. By fluffing the cooked rice with a fork, you’ll add extra air and let the rice grains separate, leaving you with perfect Basmati rice.
Recipe FAQS
I prefer the stovetop method so that I can use a shallow wide pot, but if you choose to cook the rice in the Instant Pot, don’t worry about soaking it. Rinse the rice and add it to the IP with 2 cups of water and the salt. Seal and cook on high pressure for 4 minutes before doing a slow release for 15 minutes. Uncover, add the oil and fluff.
Cooked Basmati rice can be stored in an airtight container in the refrigerator for up to four days or in the freezer for up to six weeks. When ready to reheat the Basmati rice, microwave it on medium heat for about one minute. There is no need to defrost it first. Place a wet paper towel over the rice while it heats to ensure it doesn't get dry.
Other rice recipes you may like
For more Pakistani recipes like this, check out 20 popular Pakistani recipes. If you decide to try this recipe, Please don't forget to leave a rating and comment below! If you take a picture, tag me on Instagram! Thank You!
Perfect Basmati Rice (Pakistani Recipe)
WANT TO SAVE THIS RECIPE?
Ingredients
- 2 cups rice
- 3 cups water
- 1 teaspoon salt
- 2 tablespoon olive oil (see notes)
Instructions
- Rinse the rice until the water runs clear, and soak it for 15 minutes.
- Throw the water the rice has been soaking in and put the rice, 3 cups of water, and salt in a cooking pot.
- Cook on high till the rice has absorbed all but about ¼ cup of water.
- Reduce your heat to the lowest setting, cover the pot with foil, sealing tightly around the edges, and cover with the lid. (see notes)
- After 15 minutes turn your stove off, remove the foil carefully as the steam that's released can cause burns, drizzle the cooking oil, and fluff your rice with a fork


Leave a Reply